There are lots of Ginger Snaps that claim to be the best, but these really are. Just ask my kids, or my friends, or my kids’ friends. Everyone who has ever tried these cookies agrees that they are the very snappiest ginger snaps ever. Mom makes them, I make them, and now my daughters make them, as do my sister and sisters-in-law. We have come to think of them as the MacAvoy family ginger snaps, but I must admit the recipe did not originate with our family. It was actually introduced to us by my friend, Anne Woodbury.
Anne and I met in Corning, NY when I was three years old and she was three and a half. My family lived on 4th Street; the Woodburys lived just around the corner on Pearl. Like other girls across America, we spent the late 50’s and early 60’s roller skating, jumping rope, playing hide and go seek, etc. Later as teenagers we amused ourselves with learning the domestic arts. All the girls studied Home Economics in school- cooking in 7th grade, sewing in 8th. I guess these subjects are no longer required, or if they are there are probably boys in the classes. In the 1960’s girls enjoyed cooking and sewing together, while boys prepared for their careers as firemen and outlaws. It was a happy time. My sister, Ellen, and I spent many afternoons and evenings perfecting our culinary skills, not that we knew what the word “culinary” meant. Anne and her sister were probably doing the same thing in their kitchen. Our mothers baked too, of course, so there was never any shortage of home made cookies, pies or breads at the MacAvoy or Woodbury houses.
By the time we got to high school we were pursuing other activities, but we had not lost our interest in baking. Anne and I used to spend study hall time looking through cookbooks in the school library, copying down recipes we found particularly intriguing. One of Anne’s finds was a recipe for ginger snaps, which she later passed along to our family. I assume these cookies were popular with the Woodburys, but they have become embedded in MacAvoy family tradition. Anyone would think we had brought them over with us from Ireland.
After we graduated from high school, she in 1971 and I in ’72, Anne and I both moved away from Corning and lost touch with each other except for the occasional FaceBook sightings. Then last summer when my daughter Mavia moved to Portland, Oregon, I discovered that Anne lived there also. We met for the first time in almost 30 years. Although there was a lot to catch up on, I remembered to ask her about the beloved cookie recipe. Yes she knew the recipe; she still had a copy of it, but she didn’t think she knew where it was from. All she could recollect was that it was from some “hippie, earth-mother cook book”.
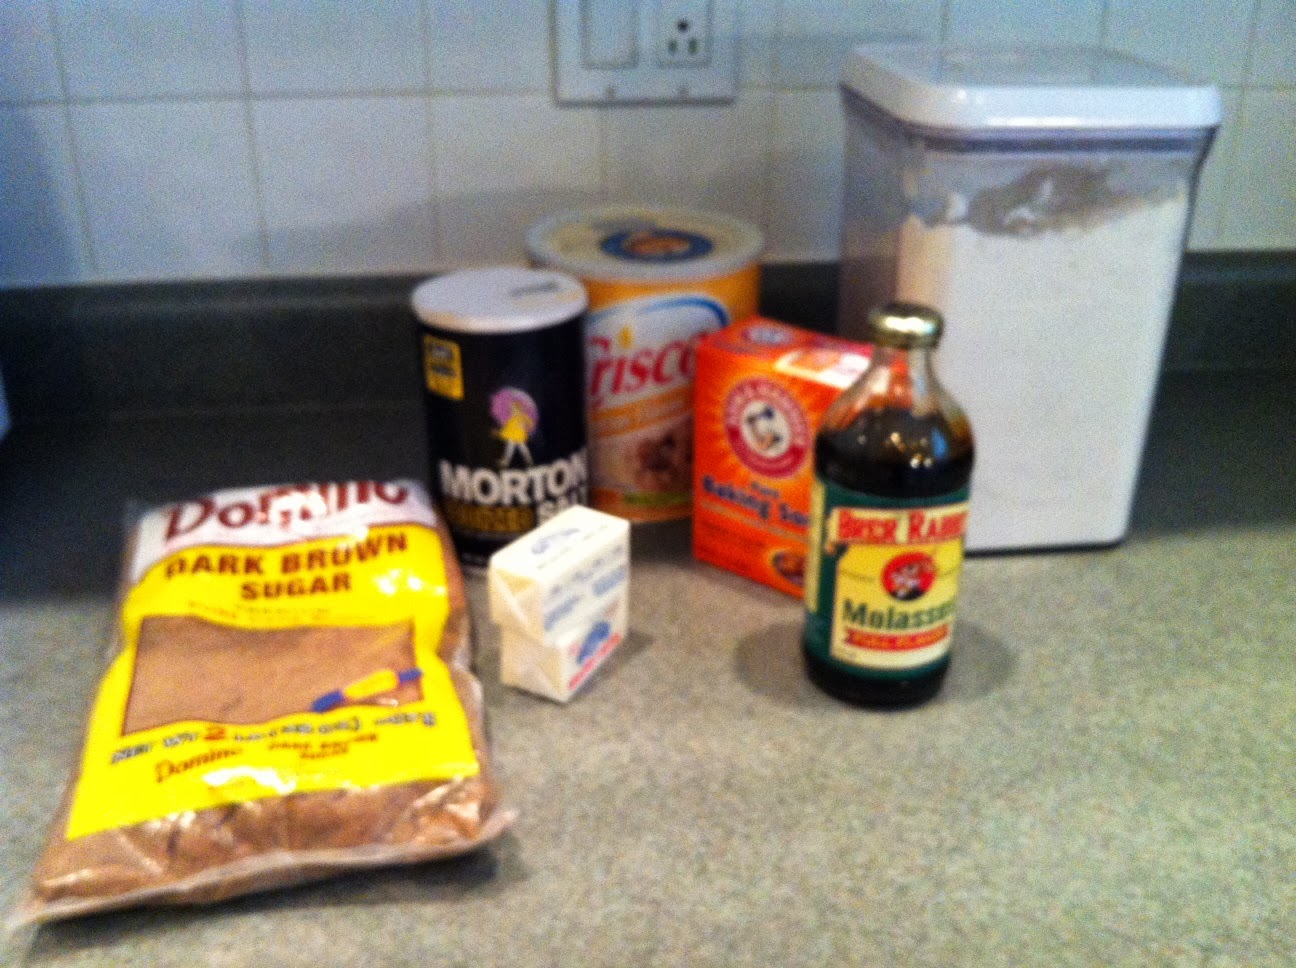
Notes on Ingredients
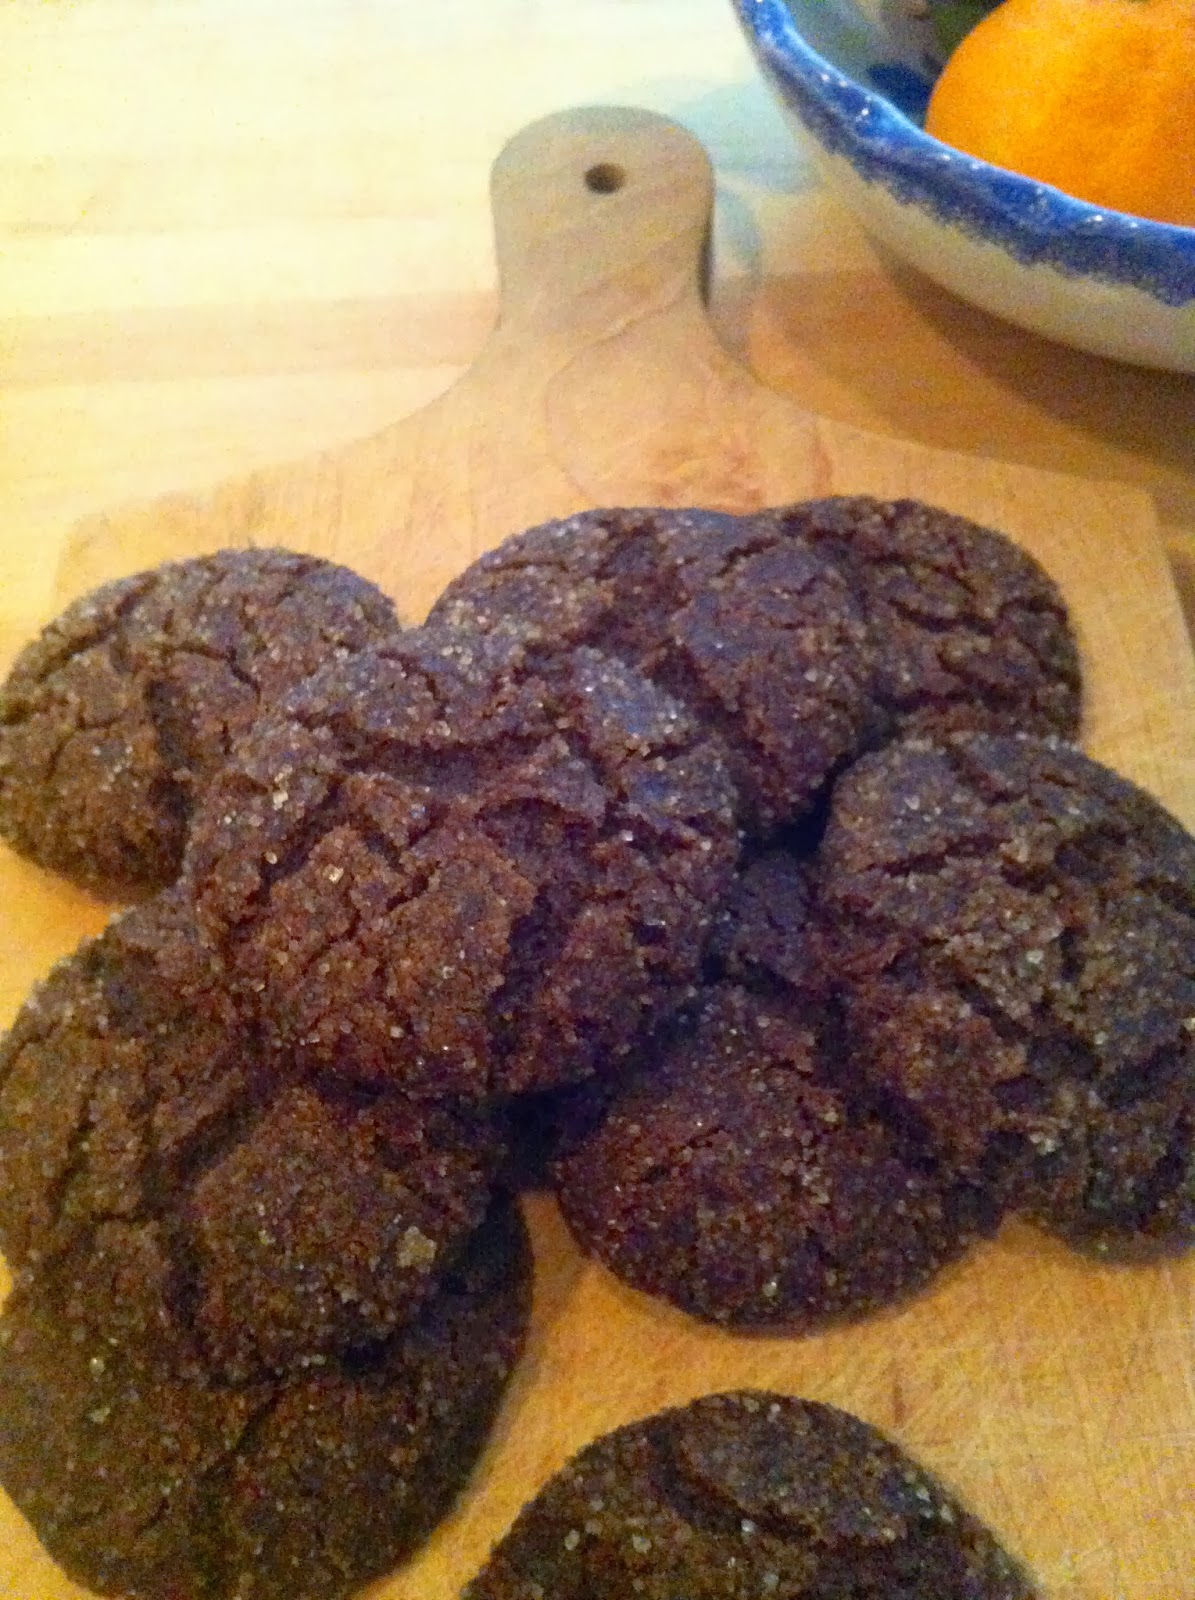
Our 1960’s Ginger Snaps are simple to make, and they will vary somewhat depending upon the ingredients used. Mavia baked some last week while she and her husband were visiting his family for Christmas. Mavia generally uses corn oil, ground ginger, and regular dark molasses for this recipe, but she improvised with the canola oil, fresh ginger, and blackstrap molasses in her mother-in-law’s kitchen. She told me the cookies were a great success, perhaps a little darker than usual but very flavorful. They are pictured at right.
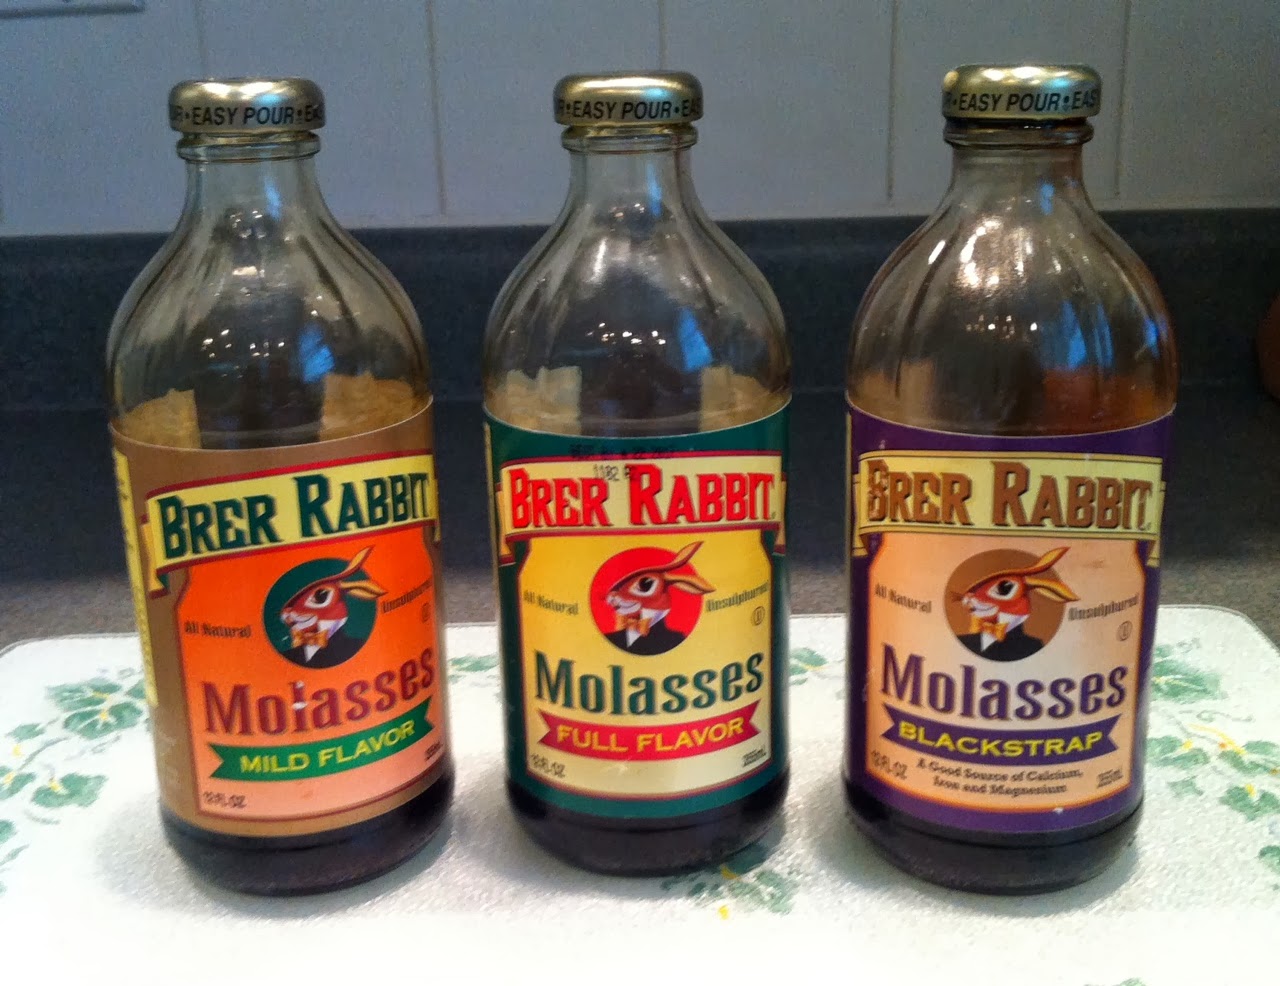
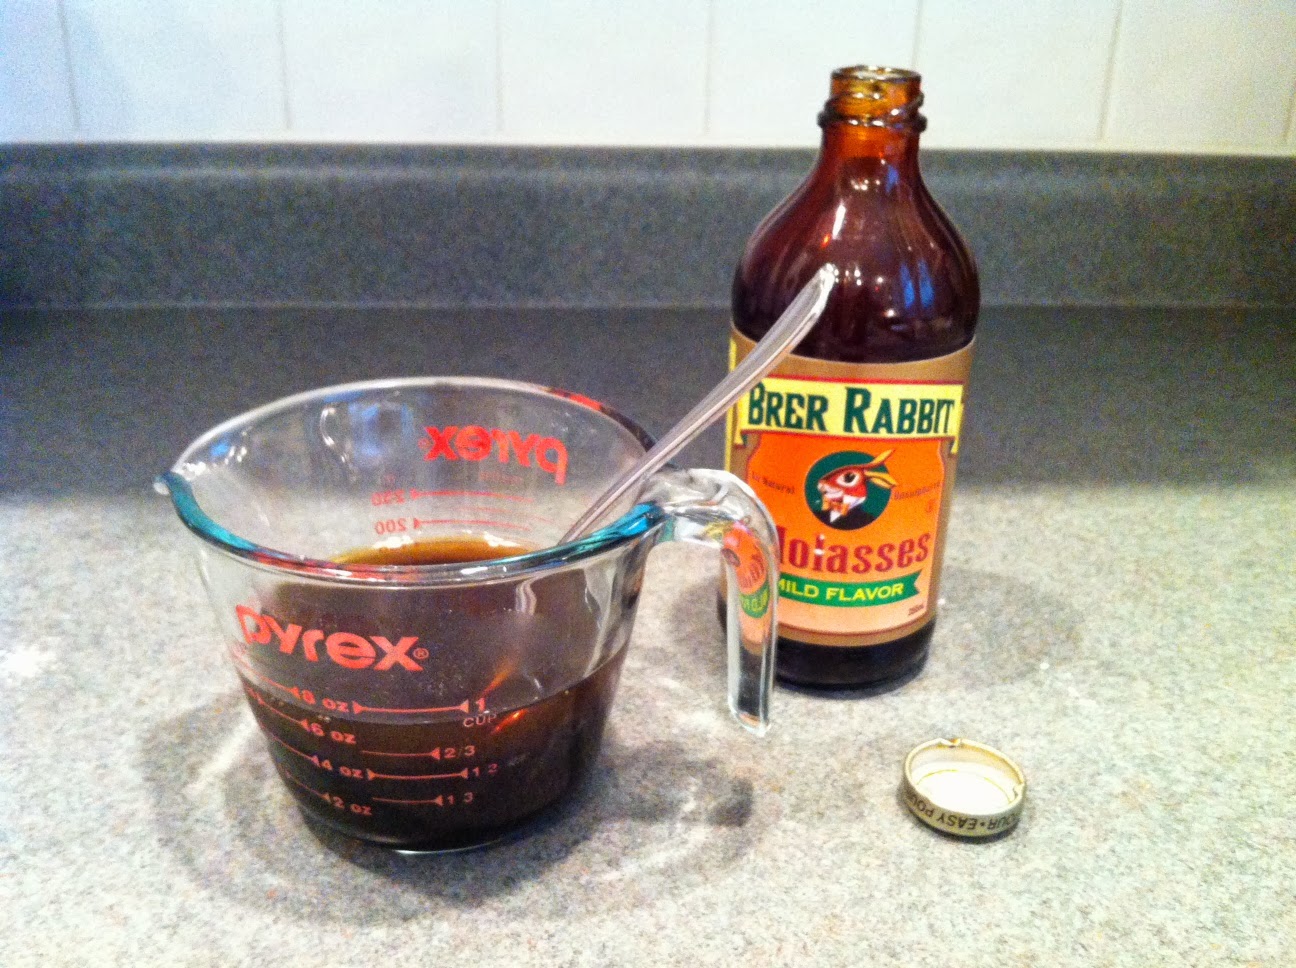
This afternoon I made ginger snaps, and discovered that after my holiday baking the only cooking oil I had enough of was light olive oil. It was satisfactory, though I would not recommend it. Mom favors canola oil; her cookies always turn out well. I prefer either corn or safflower oil. As for molasses, I love Brer Rabbit, any variety, while some cooks use only Grandma’s. And apparently Plantation Blackstrap also works. Use whatever you have!
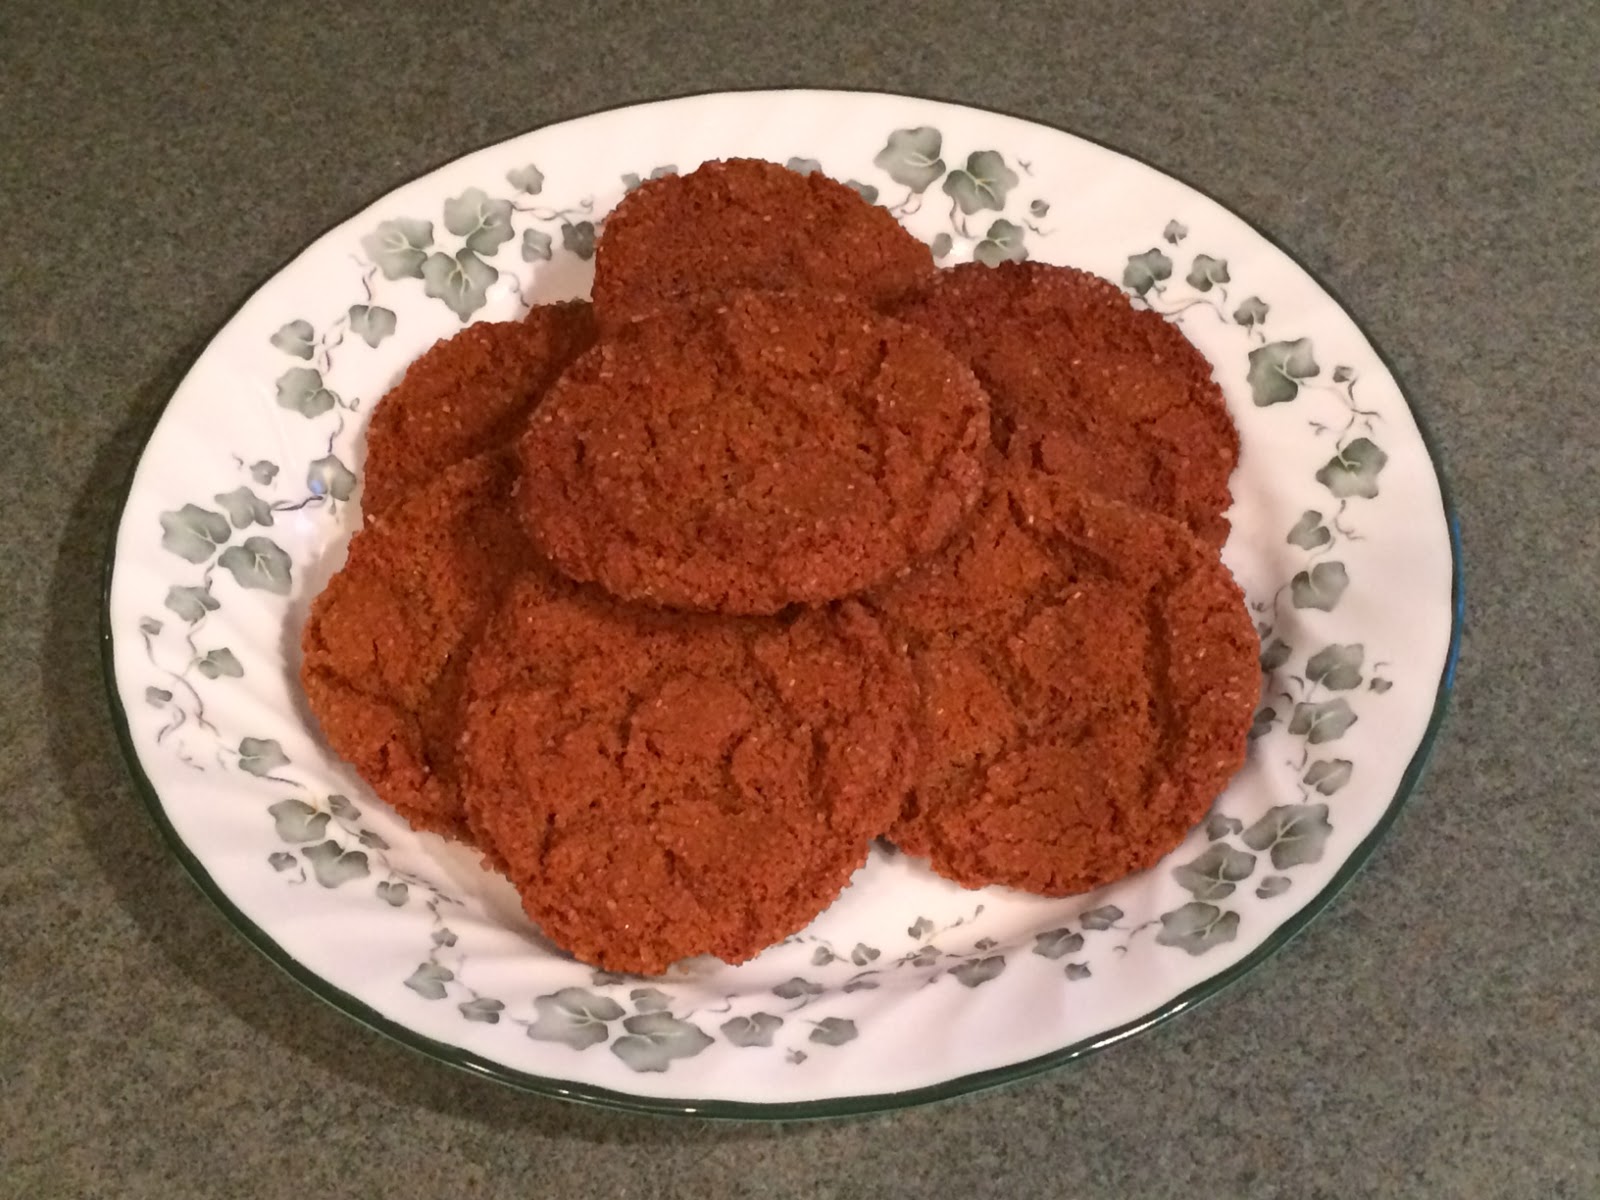
The recipe calls for the cookies to be rolled in coarse sugar before baking them, and that is what we have always done. Recently, however, I began leaving out this step, which I feel is unnecessary since there is already so much sugar. When I announced this at the dinner table during a family get together last summer, everyone was so shocked I had to assure them I was “just kidding”.

Notes on Equipment
This recipe works best with a heavy duty stand mixer. In the old days we all used Sunbeam “Mix Masters”, which we loved; mine was avocado green, like the one shown here. They were wonderful except that you had to stir in the dry ingredients with a wooden spoon. My sister-in-law, Lane, told me that she had burned out the motor of her old Mix Master on the family ginger snap recipe. Now we all have Kitchen Aid “Artisans”.
A vintage Pyrex Cinderella bowl is still the best thing for combining and pouring the dry ingredients.
1960’s Ginger Snaps
Preheat oven to 350.

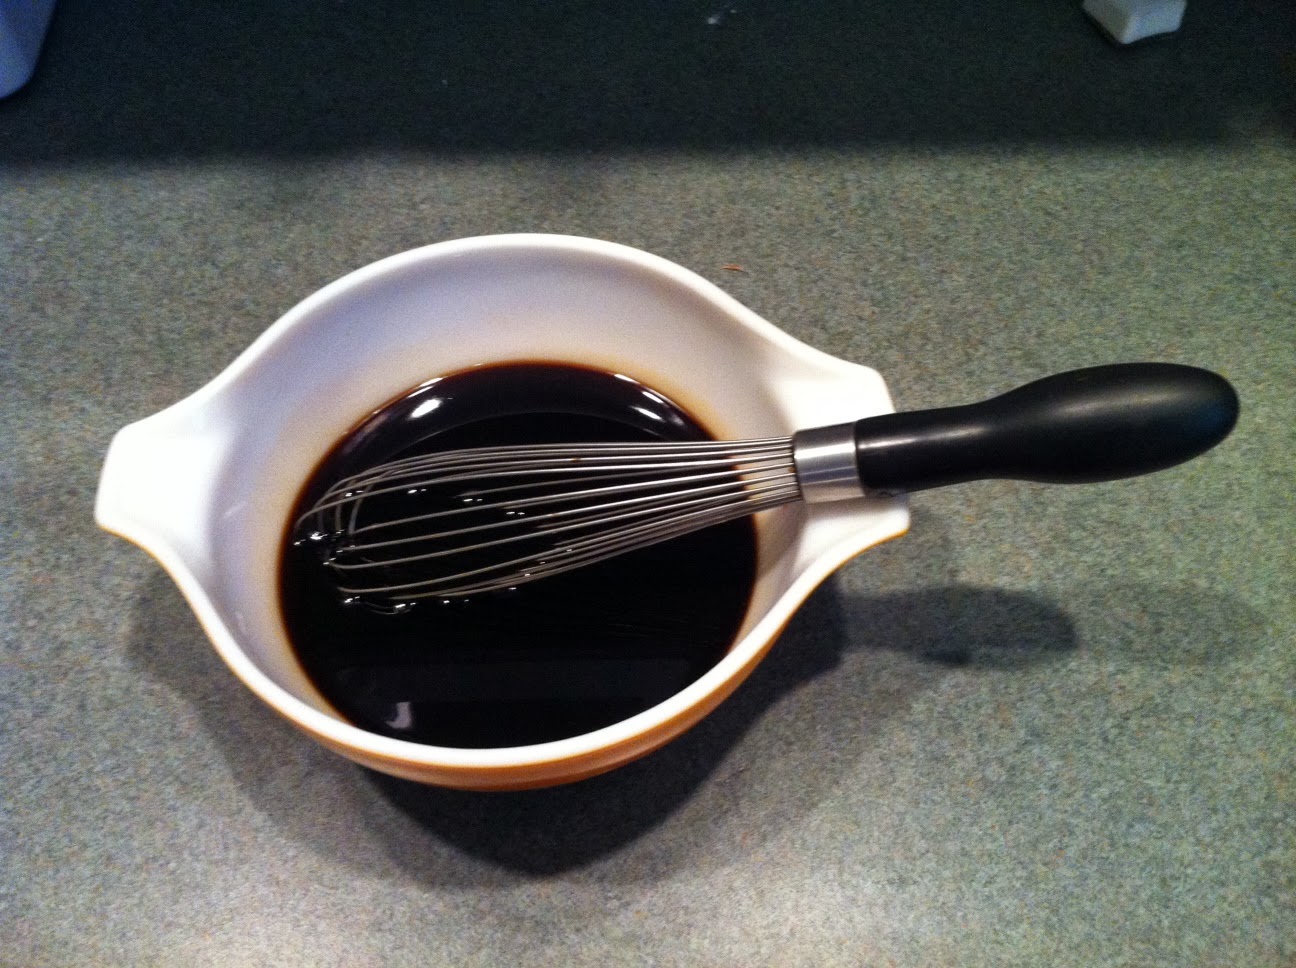
Beat together:
2 1/2 cups sugar
1 1/2 cups cooking oil
1/2 cup molasses
2 eggs
In a large bowl, stir together:
4 cups flour
1/2 tsp. salt
4 tsp. baking soda
2 tsp. cinnamon
1 tsp. ginger
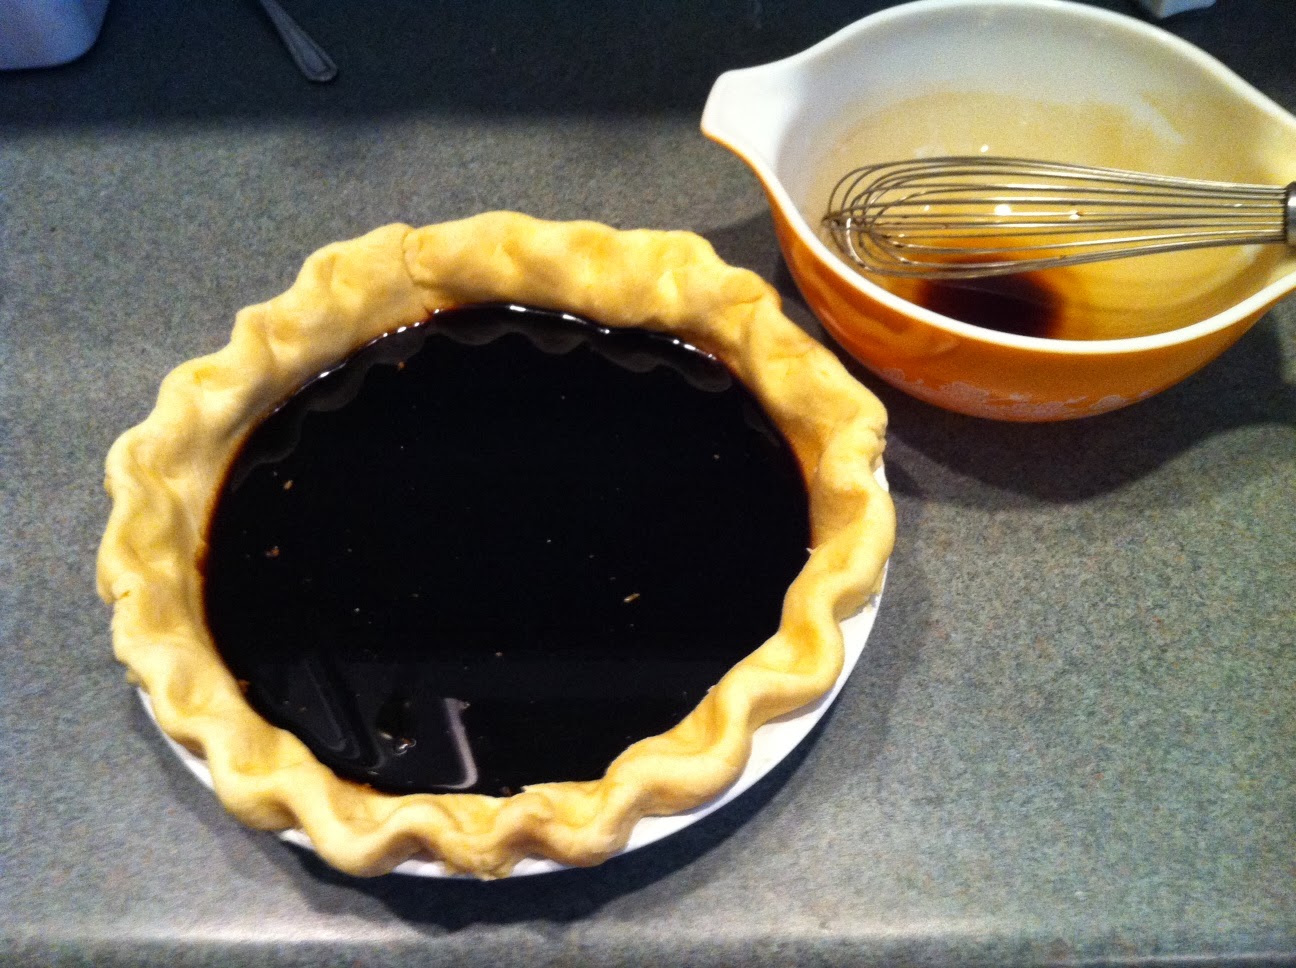
Add dry ingredients to molasses etc. and mix well. Chill the mixture for a couple of hours if you have time.
Shape dough into balls. Roll the balls in coarse sugar, such as Demerara. (if you like!)

Place balls on un-greased cookie sheet. (lined with parchment paper if you have it)
Bake 15 minutes.
Cool on wire racks.