Monday, September 23, 2013

Taking Up Quilting- How To & Why


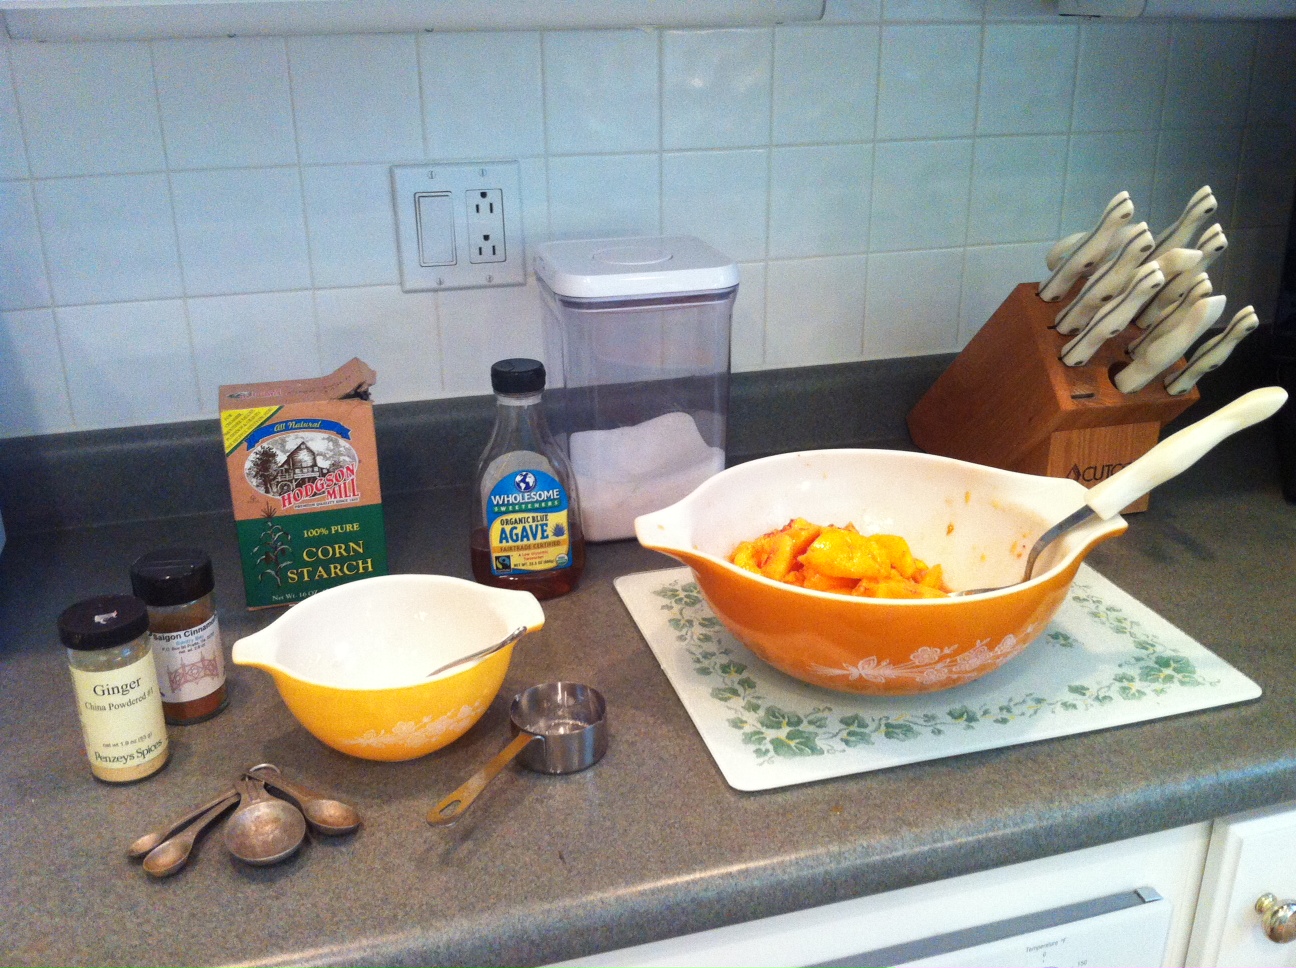
        Quilting is many things.  It is means of expressing your creativity while decorating your home, an opportunity to socialize and make new friends, and a good way to spend a rainy day at home.  Quilting is a relaxing, enjoyable hobby, by which you can challenge yourself to hone your skills and broaden your knowledge.  And you can feel more connected to our ancestors as you explore the history of this traditional pastime.  But above all- quilting is an excuse to buy fabric!  With this in mind, I think that as you take up quilting your first priority should be  accumulating a “stash”. 
        This advice might seem counterintuitive.  A more sensible approach might be to take a beginning quilting class, where you will learn to make a very basic quilt from a few very simple, coordinating fabrics.  How interesting is that?  Actually there is nothing wrong with this plan, but it should not interfere with your main goal of buying fabrics you love.  This hunter-gatherer activity will put you in touch with your inner self, and help you to define your style.  “Who am I really?” you may have asked yourself.  A few fabric shopping expeditions should provide the answer.  
     
  I have been sewing and embroidering since I was a young girl, but I just took up quilting about ten years ago.  Before giving any thought to specific projects, I went on a quilt store “shop-hop” with my friends in Ohio.  By the end of the week I had laid the foundations of a very respectable stash of fabrics that worked together.  Eventually I used many of them for my first project- the scrappy “blended” quilt pictured here.
Simple piecing and beautiful fabric- this is the perfect combination for a first quilt.    


Other fabrics from this first shop-hop are still in my stash, waiting for the right project.  A couple of years ago I found the perfect use for the pictorial fabric pictured at the left. 
It became the center square for a feathered cross wall quilt.  I brought the block to Quilter’s Corner in Finleyville, PA, where the owner helped me find some Jo Morton prints that would be perfect with my sheep.  A Kansas Troubles print pulled together the color theme, and fabrics from my stash made up the saw tooth border. 


Here are some Do’s & Don’ts to remember when it comes to shopping for quilt fabric:

Do- seek out the best shops in your area.  These shops are not on every corner or in every mall & shopping center, so you may have to drive half an hour or more.  
Don’t- go to Joann’s for fabric.  Joann’s is fine for basic supplies and Viking sewing machines, but their quilt fabric is of poor quality.
Do- Enlist your friends to shop for fabric with you.  Just be sure these friends will be supportive of your choices and will not try to impose their tastes on you.  And find friends who have roughly the same shopping style.  My friend, Patty, and I are a successful shopping duo because we like shops that specialize in historical and traditional fabrics.  And both of us can spend a couple of hours at a quilt shop without realizing how much time has gone by.  This could drive some women crazy, so compatibility is essential.
Don’t- bring your husband fabric shopping, if you can possibly help it.  Husbands have notoriously short attention spans, and they tend to ask annoying, irrelevant questions like, “What are you going to make with that?”  
Do- Buy what you love.  Many shops have a large selection of “fat quarters”, which are great for stash building.  Half yard cuts are even better.  If you find a large scale print with lots of colors, consider purchasing it either for a border or for alternate setting squares.  Three yards is enough border fabric for even the largest bed quilt; setting squares will require about two yards.  And if you are into “modern quilting”, you may not even need a border fabric.  So you can just start collecting fats, halves, and a few one yard cuts.  
Don’t- worry about what you are going to do will all your fabric.  Sooner or later you will be inspired to make something.  In the mean time you can enjoy looking at your beautiful fabrics.  

N.B.- While you are collecting fabric be sure to acquire a few books as well, as they will provide  inspiration as you begin your new hobby.  Even the smallest quilt shops often stock a wonderful selection of books.  Whether your taste runs to traditional, modern, primitive, or Civil War era, you can find books to suit your fancy.  You will need one good "how to" book.  I recommend the Better Homes and Gardens Complete Guide to QUILTING; this book is widely available.  The rest of your quilt library should be fun books with beautiful pictures, which you will look at for hours until you finally decide, "I want to make that!"  Then start looking through your fabric stash.


Saturday, September 21, 2013

Cooking with my Daughters- Grilled Brie & Apple Sandwich


        My husband retired from his job in May.  Since then I have been hearing those words every wife dreads- “What’s for lunch?”  I usually make an effort with dinner, and breakfast can be exactly the same thing every day, but I am not used to planning lunch.  Can’t he just have some of whatever I am eating?  Unfortunately he isn’t interested in stir fried tofu.  Quinoa tabbouleh doesn’t go over so well either, nor does Greek yogurt with fruit and ground flax seeds.  What about leftovers from last night?  That works, unless last night’s dinner was leftovers.  He could probably eat a salami sandwich every day, but since I don’t approve of processed meats that’s a no-go.  
        So now I am always on the lookout for uncomplicated lunch ideas- soups, salads, sandwiches etc. that my husband will eat and that are not dreadfully unhealthy.  A couple of weeks ago I was visiting my younger daughter in Denver, and one she made grilled brie & apple sandwiches.  I love brie, apples, and the super healthy bread she used.  What a great lunch!  Normally I don’t pay attention to sandwich recipes.  Just  put stuff between two slices of bread; how difficult is that?  But this particular variation is one I had not thought of, and it makes a nice change from my usual grilled cheddar and tomato sandwich.


Here is what you will need to recreate Melissa’s Grilled Brie & Apple Sandwich-

Brie Cheese- sliced fairly thin
Apple- also sliced thin
Ezekiel Bread-  You could use any bread of course, but Ezekiel is the best.  It’s available in the frozen section of your health food or grocery store.
Spread-  I use Olivio; Melissa uses Earth Balance.    


If you have ever made grilled cheese sandwiches I’m sure you can figure out what to do, but here are the directions anyway.

Spread Olivio (or whatever) on one side of two pieces of bread.  Place the slices on a plate with the spread sides together.  
Layer brie, apples and brie on the top slice.


Heat a non-stick pan.

Place the top slice of bread, spread side down, with cheese etc. in the pan.  Place the other slice on top.  
Grill for a few minutes; then carefully flip the sandwich over.  Press down with a spatula and grill for a few more minutes until done.  Flip over again if necessary until both sides are nicely browned and cheese is melted.

Serve with Mavia's beet salad.

Friday, September 20, 2013

Cooking with my Daughters- Beet Salad


Have you ever had a recipe from a mother or grandmother that included instructions like “some of this” and “a little of that”?  I haven’t.  Any recipe I have ever gotten from Mom includes exact amounts, plus detailed instructions for the procedure, cooking time, and even what kind of pan to use.  There are few recipes handed down from Grandma MacAvoy, and these are also pretty specific about ingredients and directions.  
Recipes from my daughters, on the other hand, are not so specific.  My daughters often seem to just throw things together, and it usually works.  When I was visiting Mavia in Portland recently she served a delicious beet salad, which I decided I would have to make when I got back home.  Not having written anything down, I called her for the recipe.  She told me what went into the dish, with no amounts of course.  It’s a salad, so cups and tablespoons are not that important.  Here are the ingredients-

Beets 
Tomatoes
Feta Cheese
Fresh Mint
Arugula

Trim the beets, wrap them in foil, and roast them in the oven at 350 until you think they are done.  Mine took about an hour, and were probably more well done than they should have been.  Next time I won’t cook them as long.

*Hint from Mavia- Place the wrapped beets on a cooking sheet with sides when you put them in the oven.  Otherwise you could end up with beet juice all over the bottom of your oven.  Then it will start to smoke.  Then your smoke alarm will go off and you will have to open all the doors and windows.  (Guess how she knows this.)

When the beets are done peel them, cut them up, and place them in a nice salad bowl.  Add chopped tomatoes (preferably heirloom, which I did not have), chopped mint, and crumbled feta cheese.  

At this point I realized that something was missing.  Shouldn’t there be some kind of dressing?  I called my daughter.  She told me to add some rice vinegar, which luckily I had in my pantry.  Then it would have been just like the salad I’d had at her house, except that I had forgotten to get arugula.     


Monday, September 16, 2013

My Daughter's Home in Denver


        Last week I was in Denver, Colorado visiting my younger daughter, Melissa/Maya, and her husband.  Their house is also her studio and home base for her ceramics business- Melissa Maya Pottery.  While her older siblings went to law school and business school, my youngest went to art school and yoga teacher training.  She decided that Denver was the place to pursue both these vocations, and it seems to be working out well.  Her pottery has kept her so busy that she has had to cut back on teaching yoga, but she is not complaining.  You can see her ceramics work here on Etsy, and she will be exhibiting at the Denver Raw art show in October.   


        I arrived just a the beginning of Denver’s “rainy season”, also known as “last week”.  Apparently it is almost unheard of to have several days in a row of continuous rain there, but I’m here to tell you that it does happen.  Or you can just watch the news. Fortunately it was not nearly as bad in Denver as it was up in Boulder.  It was just rainy.  Despite the inclement weather, though, we managed to find plenty to do.  
        
        Being women, we can always entertain ourselves with shopping, and in Denver there is no shortage of shopping.  One day we went to the nearest Wild Birds Unlimited, where I got my daughter set up with their APS- Advanced Pole System.  Now she can watch finches, chickadees and blue jays while she works on her pottery. 
Next I took the opportunity to visit one of my favorite quilt shops- Harriet’s Treadle Arts.  I bought more fabric; I couldn’t help it.  And when we really decided to go shopping, we spent a day at the Cherry Creek Mall and surrounding area.    
        Another great rainy day activity was the Molly Brown House Museum.  Some of you may have seen the 1964 movie The Unsinkable Molly Brown, which is a very fictionalized Hollywood version of the life of Margaret Tobin Brown.  During this  interesting house tour we learned that Margaret was never actually called Molly and that she was not related to Debbie Reynolds.  Then we walked around the corner to the Kirkland Museum of Fine and Decorative Art.  This unique museum features “a retrospective of Colorado’s distinguished painter, Vance Kirkland”.   It was not something I would have necessarily done had the weather been better, but it was so fascinating I was actually rather glad about the rain.  
        All week it was great to see my daughter in her own house, and to observe her home-making skills.  Like her older sister in Portland she recycles, composts, and uses all “green” cleaning products.  I used to be happy with my Procter & Gamble detergents and my neon colored sponges, but now I feel rather out of touch.  


        My younger daughter is more into vegetable gardening that flower gardening.  Here she is stirring home-made pesto she has just whipped up in her Ninja, while she sautes freshly picked green beans.  Although I have grown basil and other herbs I have never grown vegetables, so she must have learned vegetable gardening on her own.  That happens.     


  At the end of the week it finally stopped raining.   We went to Red Rocks!


Tuesday, September 10, 2013

My Daughter's Home in Portland

       
         Last week I traveled to Portland, Oregon to visit my older daughter and her husband in their new home.  If you want to know what Portland is like without actually going there, just watch the show Portlandia.  Nothing in the show is an exaggeration.  I have never had a waitress be so genuinely supportive about my ordering a Greek salad.  As you can imagine people ride their bikes everywhere, and they recycle everything including gum wrappers and used aluminum foil.  Don’t even think of going into a grocery store without your re-usable bags.  Obviously there is also curbside compost pick-up.  And many of the public rest rooms are unisex.  I will probably wander into a men’s room when I get back to Pittsburgh.  


No trip to Portland would be complete without taking in some of the natural wonders of the surrounding area.  The Pacific Ocean is about an hour away by Prius, and there are also plenty of scenic rivers, waterfalls, and hiking trails.  Fortunately my daughter and her husband love the outdoors.


They met a few years ago when both lived in New York city and worked at the Botanical Garden- she in development and he in education.  Now she is with Outward Bound and he has a new job at Oregon Museum of Science and Industry (OMSI), but they both retain an interest in horticulture.  So I took the opportunity while I was visiting to pick up a few gardening tips from Mavia.  


Gardening Tip #1-  Move to Portland.  Everything grows like crazy there.  Known as the City of Roses, Portland is home to the International Rose Test Garden.  There are public rose gardens all over the city, roses along every street, and everyone grows roses in their yards.  I think it’s the law.  If you get tired of roses, there are also plenty of dahlias, fuschias, petunias and passion flowers.  And I’m sure in the spring you can’t walk anywhere without stepping all over tulips, daffodils and hyacinths.


 Gardening Tip #2- Plant hydrangeas.  Not only are they wonderful in the garden, they also make excellent, long lasting cut flowers.  My daughter has the variety of hydrangea that combines subtle shades of blue, pink and purple with green- all on the same plant.  The flowers manage to be both opulently beautiful and tastefully restrained, just like my daughter.     


Gardening Tip #3- Don’t plant bamboo.  This hardy, fast growing plant will soon take over your yard and your neighbor’s yard.  I didn’t think the bamboo next to their house looked that bad, but it was probably taking up space that would have been better served by something more decorative.  Like hydrangeas.    


As I write this post I am on an airplane flying from Portland to Denver, where I will visit my younger daughter.  The next post will be My Daughter’s Home in Denver.


Sunday, September 1, 2013

Nectarine Pandowdy


         After our quilt club meeting yesterday Patty and I drove out to McConnell’s Fruit Farm, hoping they would still have some of their wonderful peaches for sale.  We were not too late.  Patty bought a half peck of peaches, but I decided to get a basket of nectarines instead.  Now what?  My husband and I could not possibly eat all that delicious, ripe fruit, and I didn’t want any of it to go to waste.  Obviously I would have to bake something.  


       Nectarine Pandowdy, I decided, would be just the thing.  A pandowdy is an old fashioned, fruit pie-like dessert, which probably originated in New England in the early 1800's.  It can be baked in a deep dish pie plate, a cake pan, or an oven proof skillet.  Most cooks agree that a pandowdy has a very juicy fruit filling, which is then covered with some kind of pastry.  After baking, the pandowdy is usually broken up with a knife and fork.  As the dessert cools the liquid fruit filling is absorbed by the crust, and the result is a cross between a pie and an pudding.
            Many people assume that the name “pandowdy” or (“pan dowdy”) comes from the way it looks.  The King Arthur Flour Baker’s Companion suggests that “Some have the origin of the word stemming from the dish’s humble, ‘dowdy’, appearance.”  This cookbook refers to the process of “dowdy-ing” the crust after baking.    But when I looked up “pandowdy” in the American Heritage Dictionary - Fifth Edition, here is what I found- [Perhaps < obsolete dialectal pandoule, custard: pan + dialectal dowl, to mix dough in a hurry (probably variant of dough).]  I seems to me that the term pandowdy may have had one meaning in the early 1800’s, and as time went on people’s understanding of the word changed.  
            There is even less agreement over the recipe for a pandowdy.  Some cooks use a biscuit crust; I consider that to be a “cobbler”.  Others recommend a cake batter topping, which I would call a “buckle”.  For a pandowdy, I prefer a pie crust both on the the top and the bottom.  Then why not just make a pie?  That’s a good question, to which I have an answer.  A pie is served by cutting a wedge and lifting it onto a plate.  Ideally the wedge should remain fairly intact while it is being served.  You don’t want the crust to fall apart or the filling to run all over the place.  
            Also, some fruits lend themselves to pie filling very well.  Apple is probably the best, and even a blueberry pie will stay together once it has been allowed to cool.  Other fruits, such as peaches and nectarines, are very juicy and produce a very delicious but very soupy filling.  And then there is the matter of crust.  Crisco shortening, butter or lard will all make a beautiful pie crust, but all these are loaded with saturated fats and/or trans-fats.  They are also not suitable for a vegan diet.  Spectrum Organic Shortening solves both problems and is a good, tasty alternative, but the dough made from this product tends to be softer and therefor more difficult to handle.  Likewise, the addition of whole wheat flour to the crust will make it healthier, but the dough be more fragile and will not hold together as well.  So if you want a juicy fruit filling with a falling apart crust,  obviously what you need is a pandowdy!  
            I decided to create a pandowdy that was as healthy as possible, with farm fresh nectarines and a whole wheat crust with Spectrum shortening.  And I replaced half the sugar with agave nectar, which has three benefits: it has a lower glycemic index, it adds liquid to the filling, and it’s trendy.  If you don’t have agave nectar you could substitute molasses; you will still have a very tasty dessert but you will sacrifice some trendiness.  
Here is my recipe-

Nectarine Pandowdy

Preheat oven to 400 degrees.

Refer to my previous blog for information about equipment you will need.  I baked my pandowdy in a vintage Corning Ware 8 inch cake pan.  Any deep dish pan of about the same size will work fine.

Filling-
9 large nectarine (or peaches)
1/3 cup sugar
1 Tbs. corn starch or flour
1/2 tsp. cinnamon
1/4 tsp. ginger
1/3 cup agave nectar (or molasses, preferably light)


Cut up and peel the nectarines.  Place them in a large mixing bowl.  In a small bowl, combine the sugar, corn starch and spices.  Pour this over the peaches and stir.  Then mix in the agave nectar.  Set this filling aside.


Crust-
1 1/4 cup unbleached white flour
1 cup whole wheat flour
1/2 tsp. salt
1 cup Spectrum shortening
1/4 cup water 

Consult my previous blog post for crust making instructions, with one difference.  A crust made with Spectrum shortening will require less water, so be careful with this step.  Add just enough water to make the dough hold together.

Assemble the pandowdy-
            Be sure to use plenty of flour on your rolling cloth and pin!  Roll out the bottom crust just as for a pie, except that if you are using a square pan you will want to roll out the crust into more of a square shape.  

Also, if you have used the crust recipe above, do not try to fold it.  A crust made with whole wheat flour will fall apart easily.  Instead, get both hands under it and carefully lift it into the pan.  Don’t worry if it falls apart a little; just patch it up the best you can.  Spoon the filling into the bottom crust.  Then roll out the top crust, making sure to add more flour to the cloth first.  Place the top crust over the filling.  Again, do not worry if it falls apart.  As you can see, my top crust came apart as I was lifting it, so I patched it together.  Luckily this is a pandowdy, not a pie.  


            Before baking I dabbed some cold water around the edges to prevent them from burning.  I also sprinkled the whole top crust with a little sugar.

Bake for about 40 minutes. 
Check after 30 minutes or so.  If the crust is getting too dark at the edges, you can turn the oven down as needed.
Remove the pandowdy from the oven and let it cool for about 20 minutes.  Then use a fork and knife to mess it up a little.  Now it won’t matter that your crust fell apart somewhat during the assembly.

Note-  I recently saw a pandowdy recipe from a well know domestic diva.   She recommends flattening the dough in plastic wrap, folding it, chilling it for 30 minutes, rolling it out to 1/4 inch, cutting it into 2.5 inch squares, which you then wrap and chill again before arranging the squares on the fruit filling.  Of course the dessert is shown baked in a rustic looking skillet, just as a pioneer woman may have done.  Good grief!  I hardly think a pioneer woman would have gone to such a lot of trouble to achieve the “dowdy” crust effect, especially without a refrigerator.